In another post I gave instructions on how to generate Gerber files in Eagle. This time I will explain how these Gerber files can be panelized on a single PCB board for manufacturing. So let’s see how to panelize PCB boards.
The tool we are going to use created by “This is not rocket science“
This is their repo:
Also I uploaded just the panelizer tool here just in case:
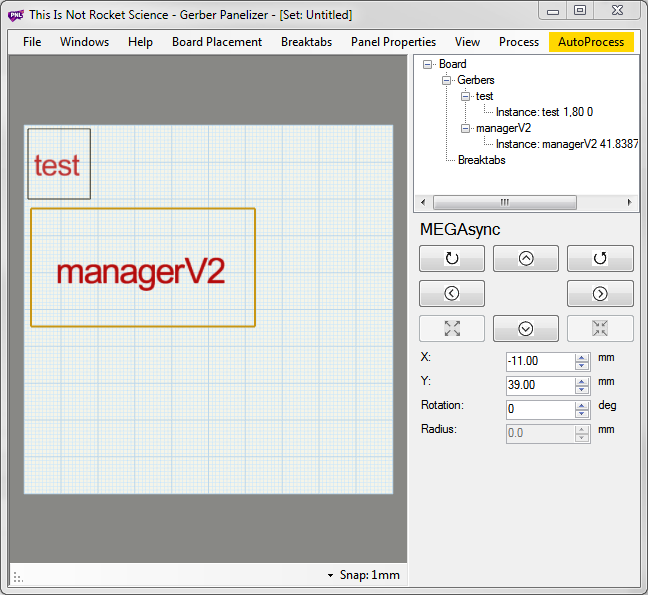
So let’s start by executing the program.
1.Unzip the folder and click on GerberPanelizer.exe

2. Drag and drop your folders that contain the gerber files into the working area
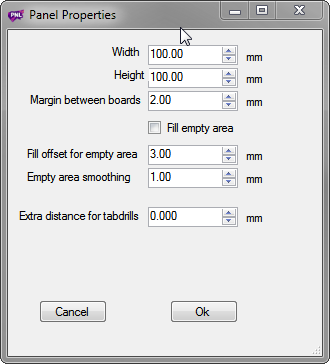
3. When the first design is imported select panel properties on the top of the window and add the size of your panel.
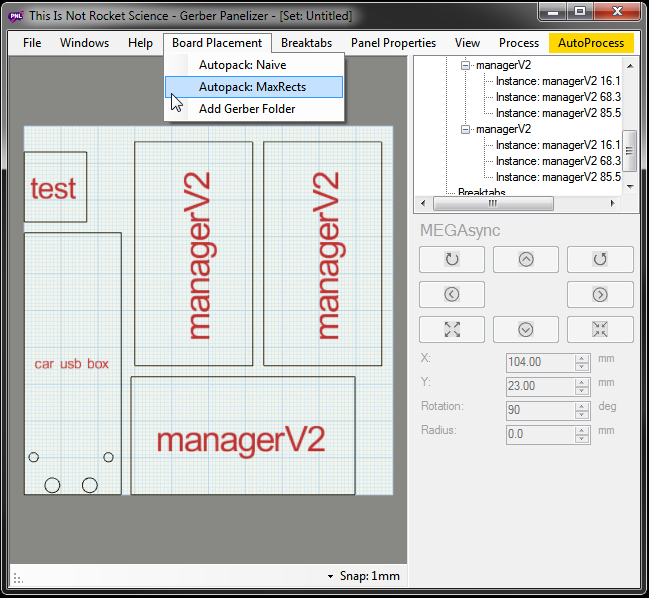
4. Add the rest of the designs and you can either arrange them by your self or let the application do it for you
5. Now we have to add the break tabs that will allow us to separate the boards when they are printed.
Click on Breaktabs -> Create Breaktabs
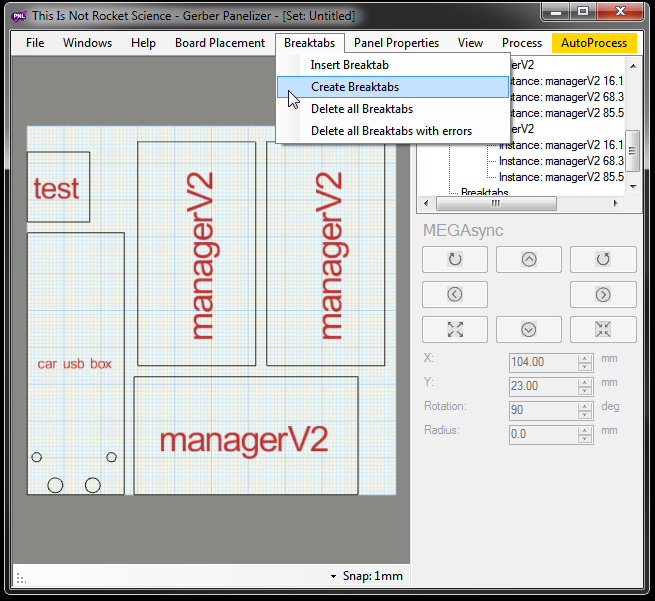
This will auto create some break tabs which you can rearrange later.
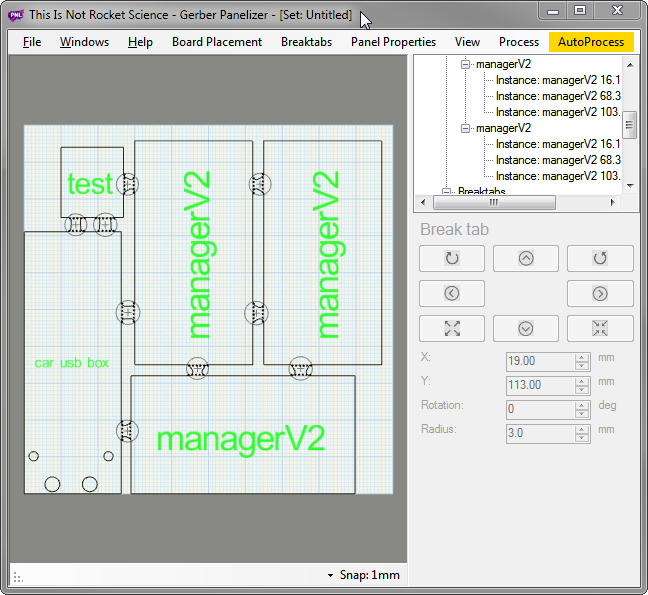
6. Keep adding tabs until all your boards become green. This will assure that the pcb printing will be successful (panel integrity, etc.)
Breaktabs -> Insert Breaktab
7. Export your design.
Go to File -> Export Merged Gerbers

NOTE: There is the possibility for your top layer which contains the writing to be a bit messed up. Please verify that everything is ok before send the panel for printing.
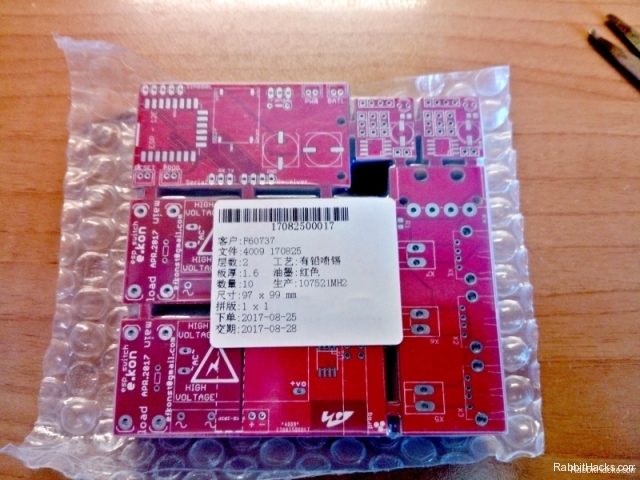
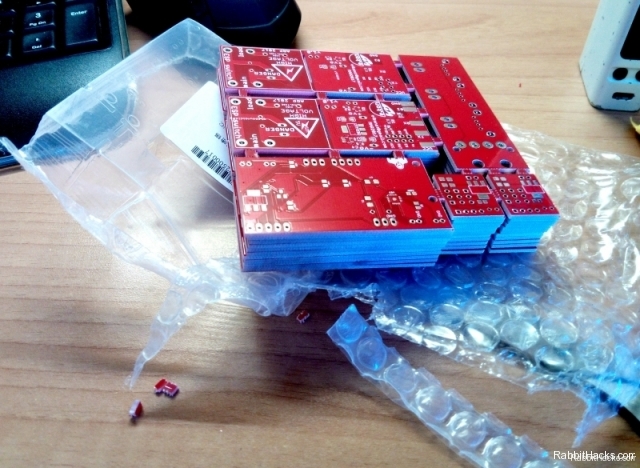
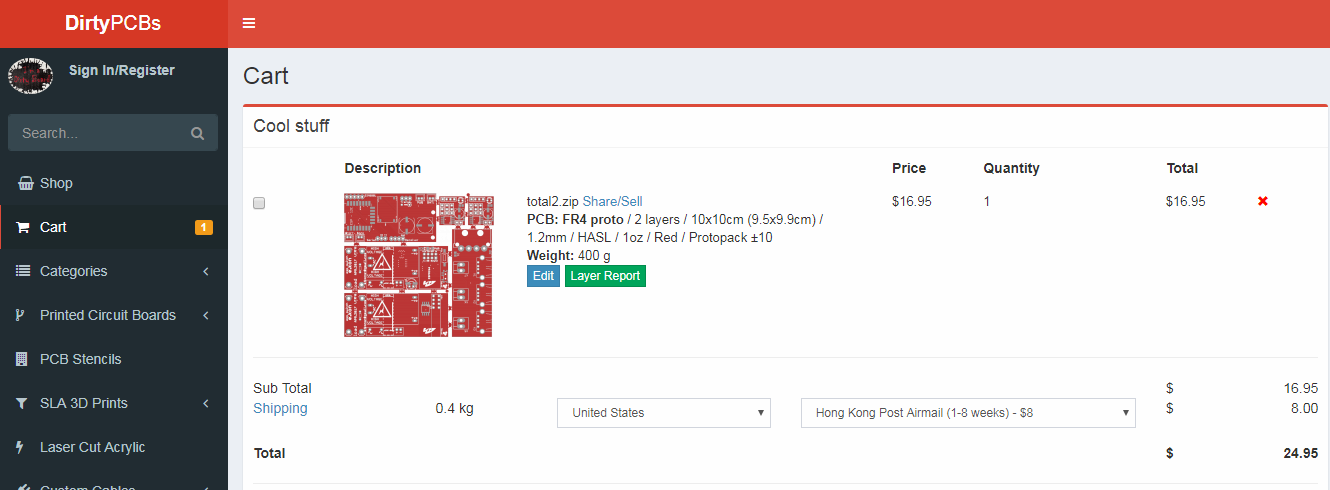
Now you can compress and upload the exported files to any PCB manufacturer site and get an estimate.
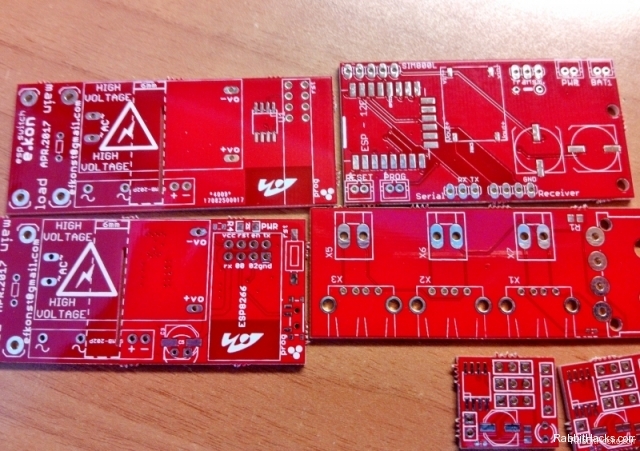
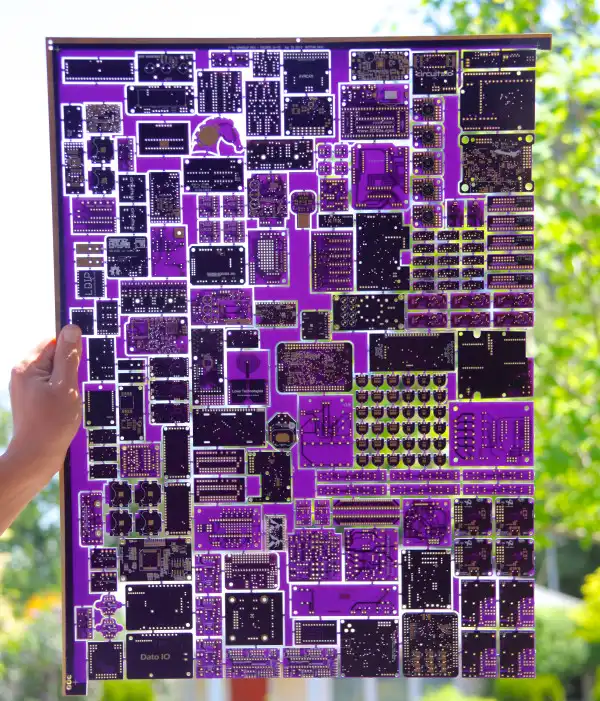
And this tutorial will not be complete if I don’t show the final result of a panelized pcb board